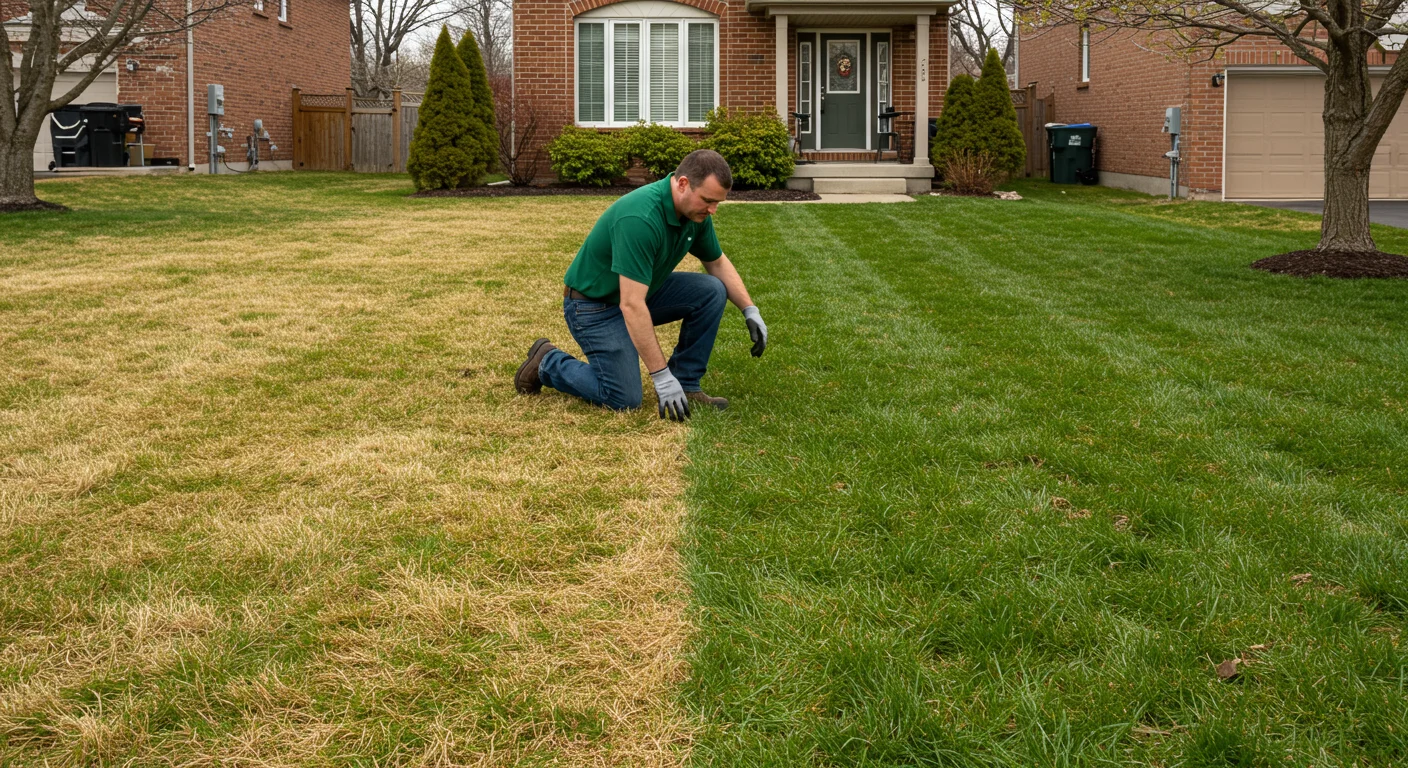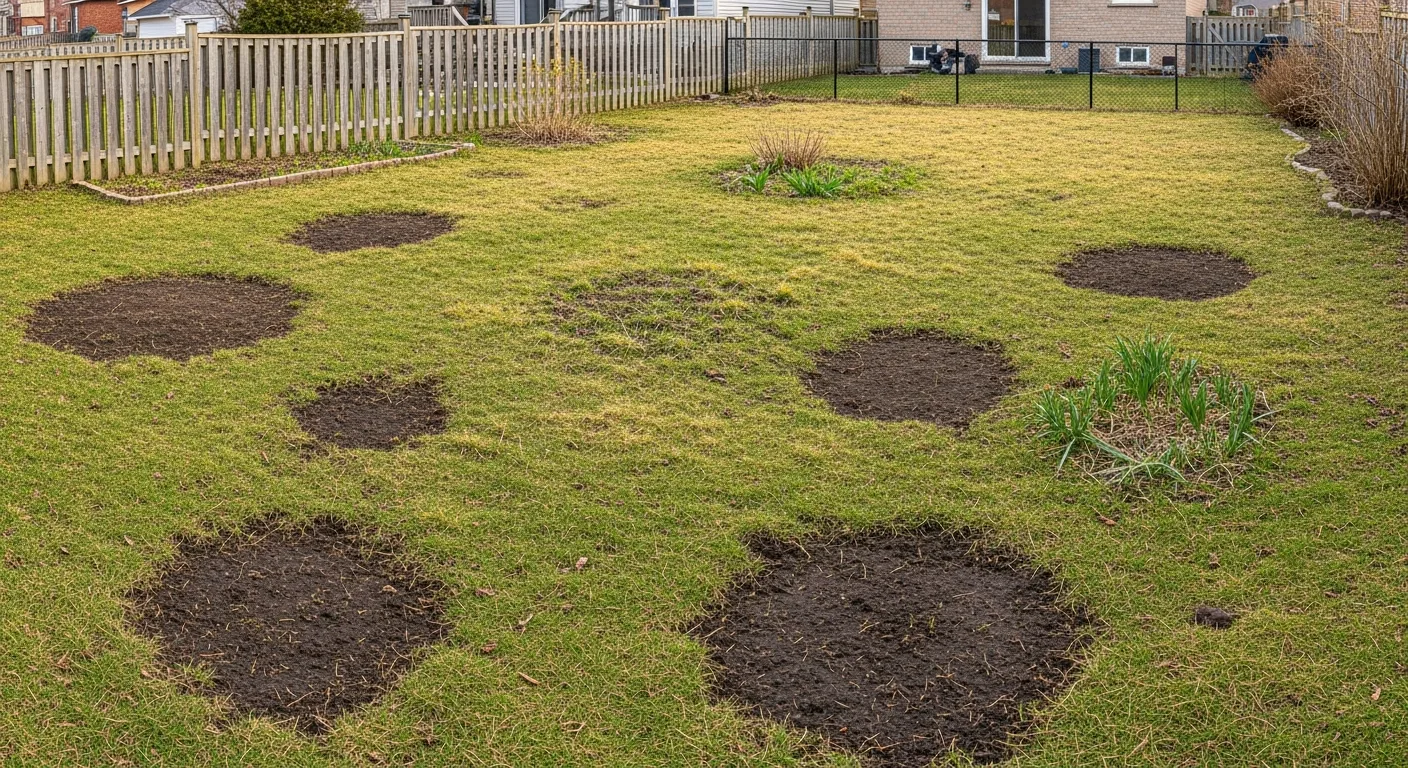
Bare patches in your GTA lawn after winter have specific causes — ice damage, road salt, snow mould, grub activity, or dog spots — and each requires a different fix. Before you seed or sod, spend five minutes diagnosing why the patch formed. Treating the symptom without fixing the cause means the same patch returns next spring. This guide gives you the diagnosis framework and the repair steps for each scenario.
Step One: Diagnose Before You Repair
Most homeowners make the mistake of immediately reseeding a bare patch without understanding why it died. If you reseed without fixing the underlying problem — whether that is compaction, salt accumulation, poor drainage, or shade — the new grass will die in the same spot within one or two seasons.
Bare patches in Toronto lawns almost always fall into one of six categories. Use the patterns below to identify which one you have.
Cause 1: Ice Sheet Damage
Pattern: Irregular patches scattered across the lawn, often in low-lying areas where water pooled before freezing. The grass in the patch is completely dead (brown, matted) with no green growth.
Confirm: Peel back the dead grass — the soil underneath should be dark and intact. No insects or smell.
Fix: Rake out dead material, loosen soil surface 1cm, overseed with matching cultivar.
Cause 2: Road Salt / Driveway Salt Damage
Pattern: Dead or thin strips running parallel to the road, sidewalk, or driveway. Damage worsens within the first 3 metres of treated surfaces.
Confirm: Soil near the patch may have white crystalline deposits on the surface. Water beads on heavily salted soil.
Fix: Flush soil deeply with water (3–4 heavy waterings over 2 weeks) to leach salt. Apply gypsum to bind sodium ions. Then overseed.
Cause 3: Snow Mould (Fungal Disease)
Pattern: Circular patches 10–40cm diameter, grey-white or pink colour, matted grass with visible fungal mycelium when wet. Often appears shortly after snow melt.
Confirm: Tug the affected turf — it should come up easily, with grass roots attached to a fungal mat at the base.
Fix: Do not overseed until the fungal mat has dried and broken up (2–4 weeks after snow melt). Rake vigorously to open the mat, allow to dry. Overseed once dead material is removed.
Cause 4: Grub Damage (White Grub / European Chafer)
Pattern: Large irregular patches that feel spongy underfoot. The affected turf rolls back easily from the edges like a carpet with no soil attached.
Confirm: Peel back the edge of the affected area — you should find C-shaped white grubs 1–3cm long in the top 5cm of soil.
Fix: Apply nematodes (biological grub control) in late August/September to treat the active grub population. Repair turf after grub population drops. Do not overseed actively grub-infested soil.
Cause 5: Dog Urine Burn
Pattern: Small circular or oval patches (20–50cm) with bright green outer ring and dead brown centre. The outer ring is greener than surrounding lawn due to nitrogen stimulation.
Confirm: The pattern — dead centre, bright green ring — is highly distinctive and almost always confirms dog urine.
Fix: Flush the area with water immediately after incidents. For existing patches: rake out dead grass, flush soil, overseed. Consider designating a gravel/mulch zone for pets.
Cause 6: Shade Stress
Pattern: Persistent thin or bare areas under trees or along the north-facing side of structures. Area looks thin year-round, not just in spring.
Confirm: Count hours of direct sun — if the area receives fewer than 4 hours of direct sunlight daily, standard Kentucky bluegrass cannot survive.
Fix: Switch to a shade-tolerant fescue mix specifically designed for low-light conditions. Trim lower branches of trees to improve light penetration. Accept some thinning in extreme shade areas.
The DIY Bare Patch Repair Process (Step by Step)
Once you have diagnosed the cause and treated any underlying issue (salt flushing, fungal mat removal, grub treatment), follow this repair sequence for most bare patch types:
Remove Dead Material
Use a steel rake to aggressively remove all dead, matted grass from the patch. You want to get down to bare soil. Dead material left in place prevents seed-to-soil contact and reduces germination rates significantly.
Loosen the Soil Surface
Use a garden fork or hand cultivator to loosen the top 2–3 cm of soil. Compacted or sealed soil surfaces dramatically reduce germination. You do not need to till deep — just break the surface crust.
Match Your Seed to Your Existing Lawn
This step is where most DIY repairs fail. Using the wrong seed blend creates a visible mismatch that is worse than the bare patch. Most Toronto lawns use a Kentucky bluegrass/fescue blend. A 3-in-1 GTA blend from a local garden centre will match most existing lawns better than cheap box-store mixes. Trim Gym can identify your lawn's grass type during a site visit.
Spread Seed at the Right Density
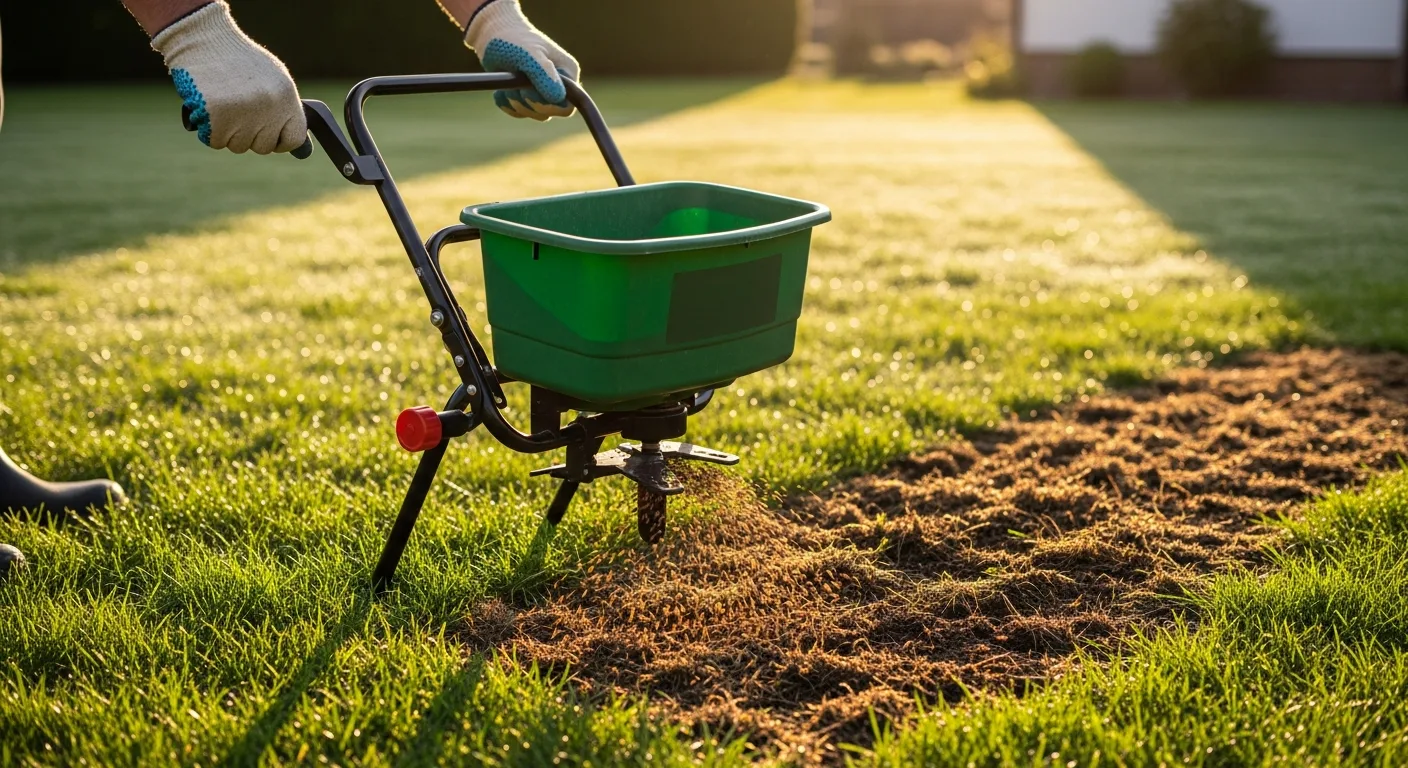
For patches, use roughly 25g per square foot — about double the rate for a full lawn. You want dense coverage because not every seed will establish. Spread by hand or with a small hand spreader, then rake lightly to work seed into the top 3–5mm of soil.
Apply a Light Compost Top-Dress
A 3–5mm layer of screened compost over the seeded area protects the seed from drying out and improves germination rates by 30–50% in GTA clay soils. Press gently with the back of a rake to ensure good seed-soil-compost contact.
Water Correctly and Consistently
This is the most common failure point. Seed needs consistent moisture for the full 4–8 week germination and establishment period. Water lightly twice daily (morning and evening) to keep the top 2cm moist — not soaked. Let the patch dry out even once after germination and you will lose a significant percentage of seedlings. Install a reminder on your phone.
First Mow: Wait Until 8–10 cm Height
Do not mow the repaired patch until new grass reaches 8–10 cm in height. Mowing too soon pulls seedlings out of the soil before roots have anchored. When you do mow, raise your blade height to 4 inches for the first cut, then return to 3 inches.
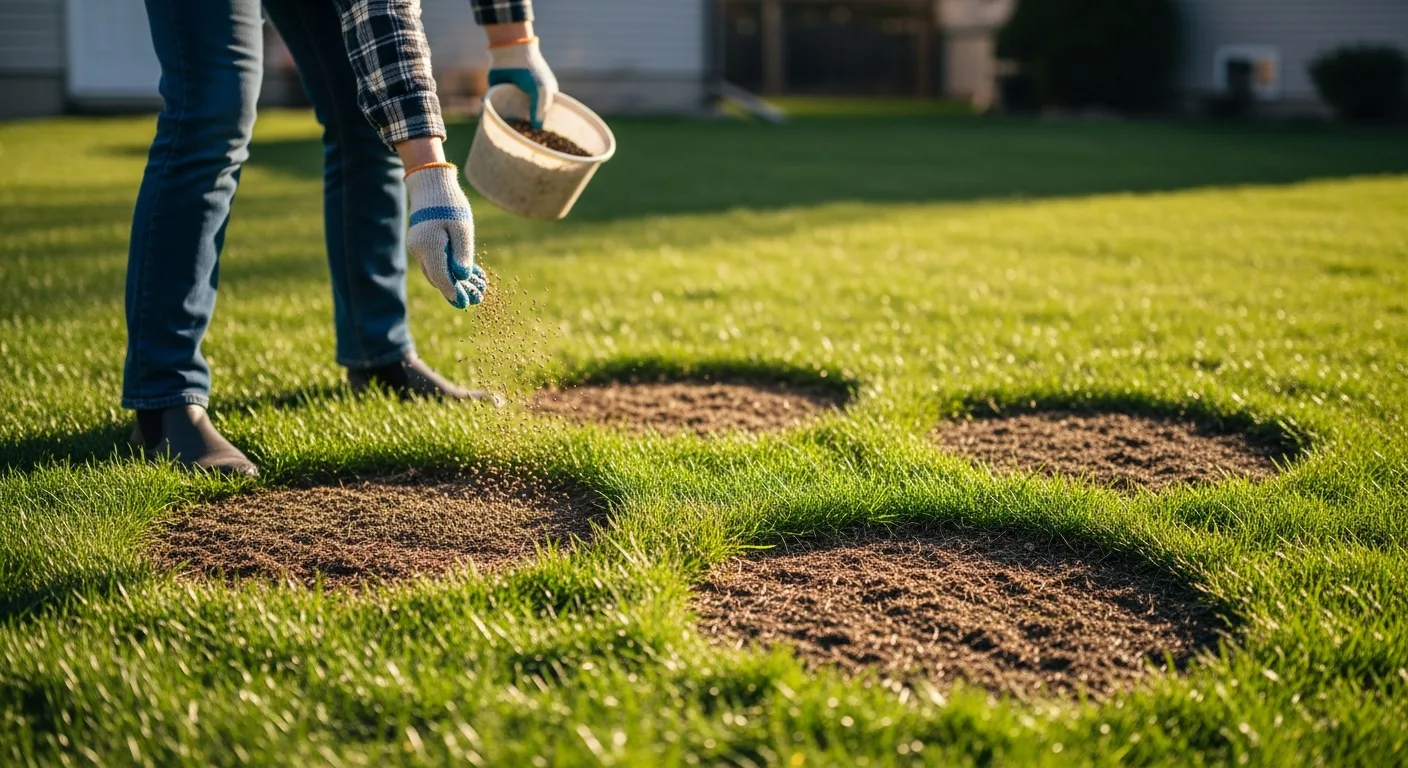
Overseeding works best in spring or early fall — good seed-to-soil contact and consistent moisture are the two factors most under homeowner control.
Seed vs. Sod — Which Is Right for Your Patch?
| Factor | Seed | Sod |
|---|---|---|
| Cost | $2–5 per sq metre | $10–20 per sq metre installed |
| Time to establish | 4–8 weeks | 2–3 weeks to root |
| Blend match | Excellent (custom mix) | May not match exactly |
| Best patch size | Any size, ideal <5 sq m | Larger areas, high traffic |
| Traffic tolerance | Must stay off for 8 weeks | 2–3 weeks |
| Watering requirement | High — twice daily | Moderate — once daily |
For most Toronto homeowners with patches under 2–3 square metres, seed is the better choice — it is cheaper, can be matched to your existing lawn blend, and gives better long-term integration. For large bare areas, sections that need to be walk-ready quickly, or if you simply do not want to manage the 8-week watering schedule, professional sod installation is the more reliable option.
Why Aeration Makes Every Bare Patch Repair More Effective
The single most common underlying cause of recurring bare patches in Toronto is soil compaction. GTA clay-heavy soils compact significantly over winter, and bare patches that are simply reseeded without addressing compaction will often fail to establish — or establish weakly and die back in summer heat when shallow roots cannot access deep moisture.
Core lawn aeration removes plugs of compacted soil and opens channels for roots to penetrate deeper. When performed before or immediately after overseeding, it improves germination rates and first-year establishment significantly. It is the reason professional lawn repair results are consistently better than DIY seeding on the same patches.
If your bare patches are concentrated in high-traffic zones — the path from the garage to the back door, areas near the swingset, or compacted spots near garden beds — aeration is not optional. It is the difference between a repair that lasts and one you will redo every spring.
Frequently Asked Questions — Bare Patches in GTA Lawns
Can I just throw grass seed on bare patches and water it?
Technically yes, but germination success will be very low — under 30% — without removing dead material, loosening the soil, and maintaining consistent moisture. Seed dumped on compacted or sealed soil sits on the surface, dries out, and either fails to germinate or germinates and dies within days when roots cannot penetrate the soil.
My patches keep coming back in the same spots every year. What am I missing?
Recurring patches in the same location almost always indicate an unresolved structural issue: compaction, shade, poor drainage, salt accumulation, or recurring pet activity. Identify the pattern (see the diagnosis table above) and address the root cause before repairing. A professional lawn assessment can identify recurring-patch causes quickly. Trim Gym offers free property consultations in the GTA.
How do I prevent bare patches from forming next winter?
The most effective prevention is a dense, well-fed lawn going into winter — thin or stressed grass is far more vulnerable to ice damage, salt, and snow mould than healthy turf. A fall fertility program, core aeration in September, overseeding thin areas before freeze-up, and reducing road salt application near lawn edges all reduce the severity of spring bare patches. Trim Gym's fall cleanup service includes a lawn condition assessment that identifies at-risk areas before winter.
Too Many Patches to Repair Yourself?
When bare patches cover more than 30% of your lawn, professional renovation may be more cost-effective than repeated DIY repair. Trim Gym provides full spring lawn renovation services including aeration, overseeding, and soil amendment across Toronto, North York, Vaughan, Richmond Hill, Markham, and Scarborough.
Free assessment included with any seasonal service. $2M insured. Serving all GTA.